 使用Express搭建服务器
# 牛刀小试
假定已安装 Node.js。在应用中创建一个目录,进入此目录作为当前工作目录。
mkdir express-demo
cd express-demo
2
通过 npm init 命令为应用创建一个 package.json 文件。
npm init
此命令会要求输入几个参数,如应用名、版本号、作者、入口文件等等。输入应用的入口文件,这里我的入口文件是 index.js。如果希望采用默认的 index.js 文件名,直接回车就行。
接下来在 express-demo 目录下安装 Express 并将其保存到依赖列表中,如:
npm install express -S // 或npm install express --save
下面写一个简单的 demo 来看下效果,创建 index.js 文件,代码如下:
const exprerss = require('express')
const app = express()
const port = 3000

app.get('/', (req, res) => {
    res.send('Hello World!')
})

app.listen(port, () => {
    console.log('当前运行应用的端口号为' + port)
})
2
3
4
5
6
7
8
9
10
11
然后在终端运行 node index.js 即可看到效果,在浏览器中输入 localhost:3000,就会看到页面会输出 “Hello World!” 这句话。
# 修改代码后自动重启项目
现在我们在 index.js 文件中改点东西,发现并没有生效,需要再次运行 node index.js,结果可能会报错,说端口已被占用了,我们总不能每次关闭终端重新打开或者更改端口号吧,,这时候有个好东西就派上用场了,他就是 nodemon,一款很受欢迎的开发服务器,能够检测到工作区代码的变化,并自动重启。
npm install nodemon -D // 或npm install nodemon --save-dev
这里我们将 nodemon 安装为开发依赖 devDependencies,因为仅仅只有在开发时才需要用到。同时我们在 package.json 中加入 start 命令,代码如下:
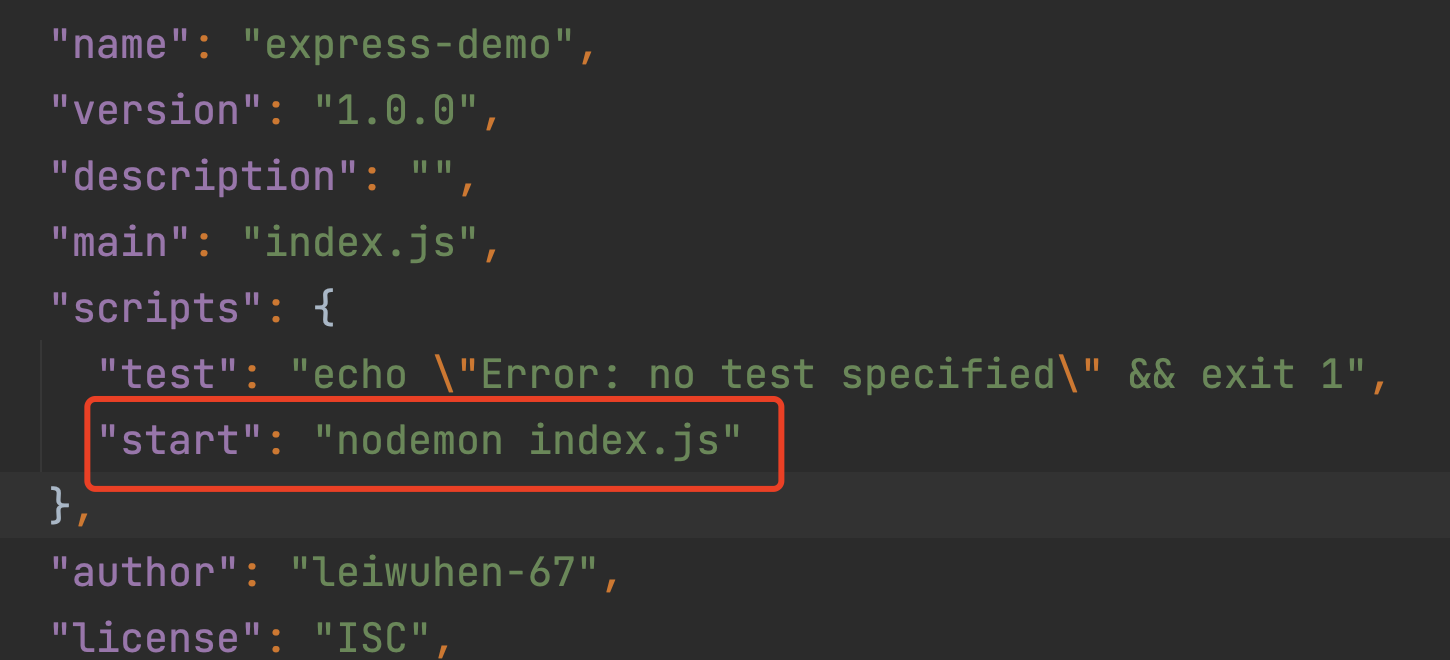
现在我们更改完代码后,只需要保存后应用就会自动重启。
# 用模板引擎渲染页面:
Express 对当今主流的模板引擎(Pug,Handlebars,EJS 等)提供了很好地支持,这里选择 hbs(Handlebars)作为模板引擎。
首先安装 npm 包:
npm install hbs
创建 views 文件夹,用于放置所有的模板。创建首页模板 index.hbs。代码如下:
<h1>个人简历</h1>
<p>我是一名前端攻城狮,正在学习Express中。。。。</p>
<a href="/contact">联系方式</a>
2
3
然后创建联系页面模板 contact.hbs,代码如下:
<h1>联系方式</h1>
<p>QQ:123456789</p>
<p>微信:123456789</p>
<p>邮箱:123456@qq.com</p>
2
3
4
然后在 index.js 中配置和使用模板。
app.set('views', 'views');
app.set('view engine', 'hbs');
2
# 添加静态文件服务
现在想给 index.hbs 和 contact.hbs 文件添加样式和图片怎么办呢?
这时候就需要添加静态文件服务,在 Express 中已经自带了静态文件服务中间件 express.static。在 index.js 中添加如下代码:
app.use(express.static('public'));
在项目目录下建立 public 文件夹,public 文件夹下建立 imgs 文件夹和 css 文件夹,分别用来存放图片和 css 样式。
public/css/style.css 文件代码如下:
body {
  text-align: center;
}

h1 {
  color: blue;
}

img {
  border: 1px dashed grey;
}

a {
  color: blueviolet;
}
2
3
4
5
6
7
8
9
10
11
12
13
14
15
然后在 index.hbs 中修改代码如下:
<link rel="stylesheet" href="/css/style.css">

<h1>个人简历</h1>
<img class="img" src="/imgs/女帝.jpeg" alt="">
<p>我正在学习Express</p>
<a href="/contact">联系方式</a>
2
3
4
5
6
现在就能看到效果了。
# 添加 404 页面:
404.hbs。代码如下:
<link rel="stylesheet" href="/css/style.css">

<h1>找不到你要的页面了!</h1>
<p>你所访问的路径{{ url }}不存在</p>
2
3
4
在 index.js 中添加如下代码:
app.use('*', (req, res) => {
    res.status(404).render('404', {url: req.originalUrl})
})
2
3
- 表示匹配任何路径。将此中间件放在所有路由后面,即可捕获所有访问路径均匹配失败的请求。
# 服务器错误处理:
Express 自带了错误处理机制,可通过自定义错误处理函数来解决,在 index.js 文件所有路由后面添加如下代码
app.use((err, req, res, next) => {
    res.status(500).render('500')
})
2
3
添加 500.hbs 页面,代码如下:
<link rel="stylesheet" href="/css/style.css">

<h1>糟糕,服务器好像开小差了</h1>
<p>过一会儿再来试试吧!</p>
2
3
4
现在 index.js 文件完整代码如下:
const express = require('express')
const app = express()
const port = 3000

// 指定模板的存放目录
app.set('views', 'views')

// 指定模板引擎为Handlebars
app.set('view engine', 'hbs')

// 全局中间件,设置请求头部,跨域处理
app.use((request, response, next) => {
    response.header('Access-Control-Allow-Origin', '*')
    next()
})

app.use(express.static('public'))

app.get('/', (req, res) => {
    res.render('index');
})

// 访问该路径,会抛异常,然后走服务器错误逻辑,跳转到500页面
app.get('/list', (req, res) => {
    throw new Error('hello')
})

app.get('/contact', (req, res) => {
    res.render('contact')
})


app.use('*', (req, res) => {
    res.status(404).render('404', {url: req.originalUrl})
})

app.use((err, req, res, next) => {
    res.status(500).render('500')
})

app.listen(port, () => {
    console.log(`Example app listening on port ${port}`)
})
2
3
4
5
6
7
8
9
10
11
12
13
14
15
16
17
18
19
20
21
22
23
24
25
26
27
28
29
30
31
32
33
34
35
36
37
38
39
40
41
42
43
# 实现 JSON API:
在 index.js 中添加如下代码:
app.use('/getList', (req, res) => {
    res.send({
        name: '张三',
        age: 34
    })
    // 或者
    // res.json({=
    //    name: '张三',
    //     age: 34
   // })

})
2
3
4
5
6
7
8
9
10
11
12
现在访问 localhost:3000/getList 时,会返回该 json 数据。
# 路由与 api 拆分:
首先创建 routers 目录,用于存放所有的子路由,创建 routes/index.js 文件,代码如下:
const express = require('express');
const router = express.Router();

router.get('/', (req, res) => {
    res.render('index');
})

router.get('/contact', (req, res) => {
    res.render('contact')
})

module.exports = router;
2
3
4
5
6
7
8
9
10
11
12
创建 routes/api.js 文件,代码如下:
const express = require('express');
const router = express.Router();

router.get('/list', (req, res) => {
    res.json({
        name: 'Express',
        desc: 'Express太神奇了'
    })
})

router.get('/getList', (req, res) => {
    res.json({
        title: '随便',
        id: 14,
        desc: 'Express太牛叉了'
    })
})

module.exports = router;
2
3
4
5
6
7
8
9
10
11
12
13
14
15
16
17
18
19
然后修改 inder.js 文件代码如下:
const express = require('express')
const app = express()
const port = 3000

const indexRouter = require('./routes/index')
const apiRouter = require('./routes/api')

// 指定模板的存放目录
app.set('views', 'views')

// 指定模板引擎为Handlebars
app.set('view engine', 'hbs')

// 全局中间件
app.use((request, response, next) => {
    response.header('Access-Control-Allow-Origin', '*')
    next()
})

app.use(express.static('public'))

app.use('/', indexRouter)
app.use('/api', apiRouter)

app.use('*', (req, res) => {
    res.status(404).render('404', {url: req.originalUrl})
})

app.use((err, req, res, next) => {
    res.status(500).render('500')
})

app.listen(port, () => {
    console.log(`Example app listening on port ${port}`)
})
2
3
4
5
6
7
8
9
10
11
12
13
14
15
16
17
18
19
20
21
22
23
24
25
26
27
28
29
30
31
32
33
34
35
现在访问 localhost:3000 和 localhost:3000/contact 就能看到俩页面的效果了。访问 localhost:3000/api/list 和 localhost:3000/api/getList 就能分别获取到 api 返回的 json 数据了。